Tuesday, February 19, 2013

A Mommy Moment {Me Time}

I have been told numerous times that a good mother and wife needs to recharge her batteries in order to be her best. If our batteries run low for too long we will not be able to fully fulfill our role to the best of our abilities. After becoming a mom myself I have found this to be more than true. I find myself longing   for "Me Time" more now than ever before; whether it is just to run to Target without worrying if I brought snacks and milk, how long she is going to last in the cart before we have to run down the toy isle to preoccupy her, noticing that she squeezed out all the apple sauce from the pouch onto the contents in the cart just to realize that I didn't bring wipes and now I have to lick it off of myself and her, losing a shoe somewhere in the store and never to see it again, having a yogurt and a block of cheese bitten into like we had rats riding in the cart and the list goes on.

I LOVE my daughter with ALL my heart and as I write this I can't help but laugh at all of our funny experiences; some of which aren't so funny when they are happening in the moment. But she always has a way of making me laugh and smile in the end. However, going to Target solo is oh so nice too! Browsing every department (you HAVE to when you go there), up and down the isles at your own pace...ahhh....or getting a mani/pedi, going to lunch with a good friend, going on a run solo...are all things that help recharge my batteries.

But, I find myself torn at times between doing things for myself and spending time with her. It's almost as though I make myself feel guilty for wanting to go do things for myself; by myself. I only work 3 days a week and we are home by 3:30, but it seems that once we get home, play for about an hour then it is time to start the nighttime routine of make dinner, bath, play, make lunches and bed. So, when my days off come around I find myself wanting to hangout out with her more and do something fun or try to get all my errands and cleaning done and the "Me Time" gets pushed aside or is taking place in the late hours of the night vegging in front of the computer or TV, but then the dilemma is that I am not spending time with my hubby relaxing and cuddling like we should be.

So how do you meet that happy medium of spending quality time with your children, your hubby, your family and yourself and carve time in there for quiet time with God (which I am totally lacking right now)?

Maybe I am just really bad at time management...I do get easily distracted and will find that an hour has already passed when I thought it would only take 10 minutes...maybe it is something that I need to schedule like an appointment...I have read that really helps. I don't know the answer, but I do know that this last year of being a mom and wife have been the best as well as the biggest learning experience of my life. I have learned so much about what it means to put someone else as the priority in my life, to meet other's needs before myself and each day I learn something new about my daughter, myself, being a wife and motherhood. It is a forever learning experience and just when we seem to have figured things out or got on a schedule...think again! I wouldn't change the chaotic trips to Target, the tornado that goes through my house daily, or not getting a shower till 4pm for anything...even if it means that I don't get that "Me Time" weekly. I know that I will get it and when I do my batteries will be recharged and I will be a better Mommy, wife and person for it.

How do you recharge your batteries or schedule "Me Time"?


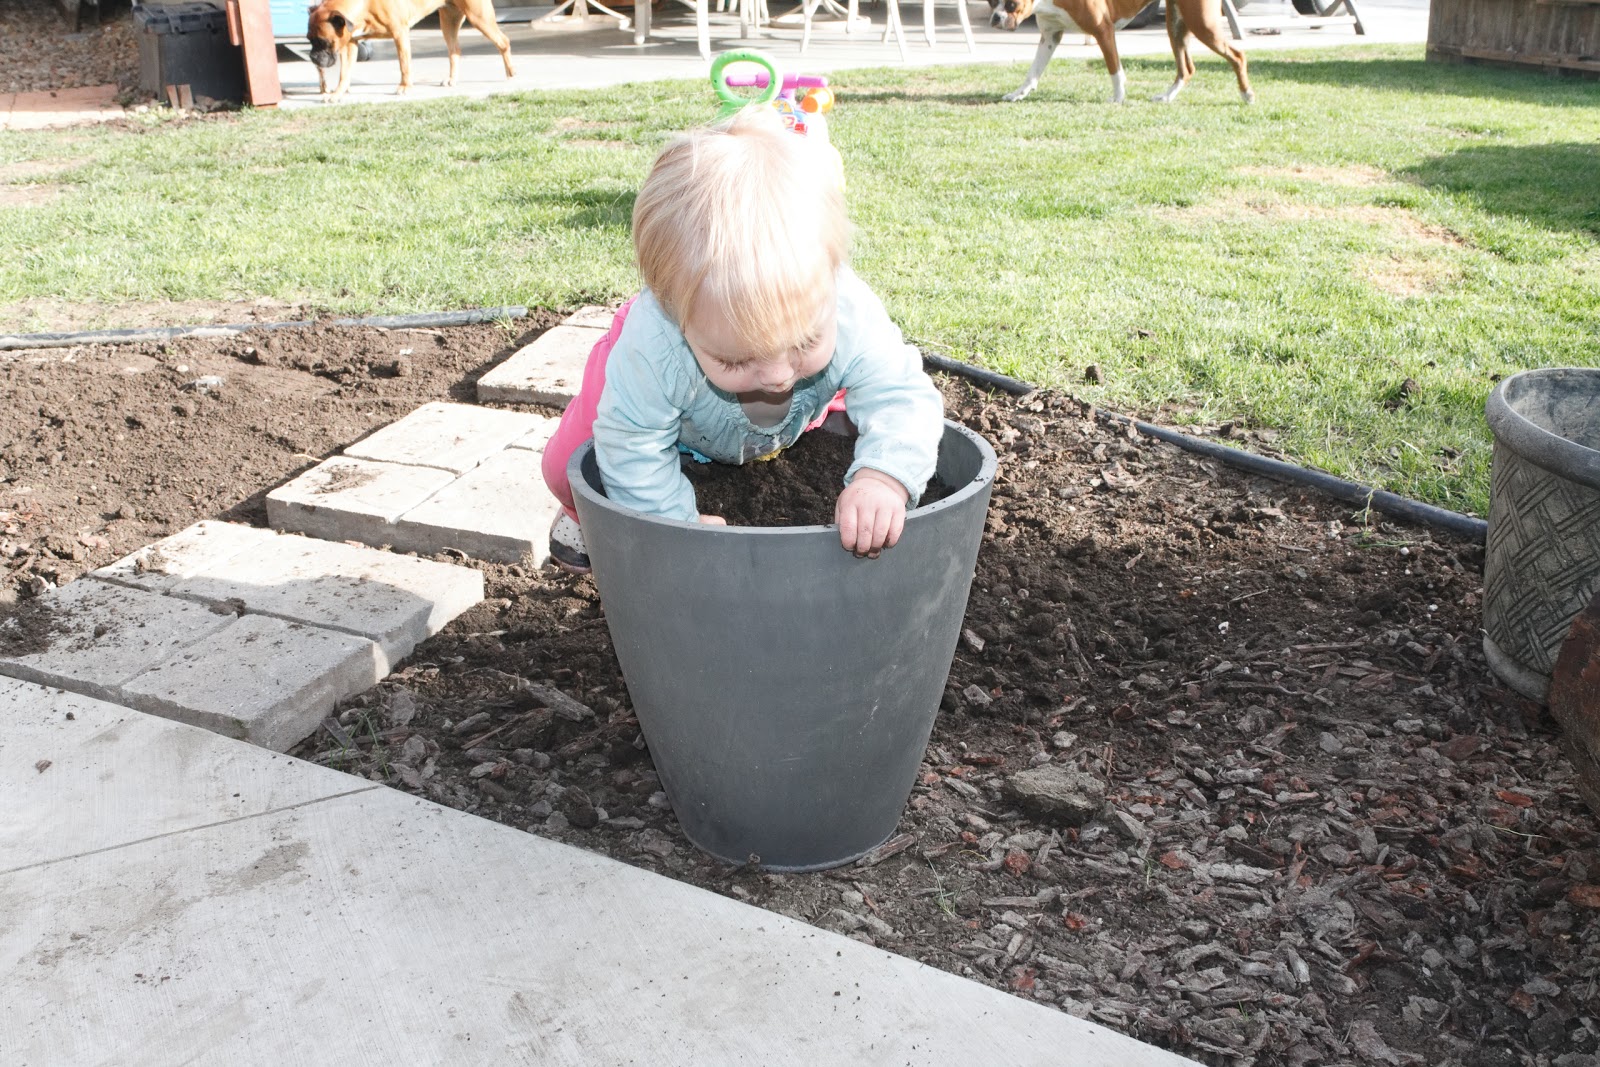
I can't help but put some pictures of my Little Chick in this post!


Monday, February 11, 2013

For The Love Of {Anthropologie}

I have a love (ok slight obsession) with Anthropologie. Mainly with their home section. And it is mainly window shopping (ie. computer based). But I can't help but find myself gawking over the things they have for your home.

I don't know what you would exactly call my decorating style other than eclectic. I love vintage, modern, rustic, bohemian, preppy, girly, funky and so on. I think that is why I love Anthro so much. The way they mix colors, patterns, shapes and styles just gets my decorating wheels turning.


The kitchen section is AHH-mazing with their fun plates, bowls, measuring spoons and spice jars who
 wouldn't want to cook or bake?! 
See More Here


Isn't this Owl cookie jar just too cute?! I have been eyeing it for a while and think it would make any cookie taste good! Don't you feel like he is just winking at you saying, "It's ok just have one. I won't tell anyone." Sneaky Owl!


I LOVE, LOVE, LOVE their plates. I love the colors, patterns and love that you can ultimately mix and match them...which I hope to do one day.
See More Here


These three vases are all actually very reasonable; ranging from $20-$24. They are different and just add that pop of color while also adding dimension and texture. LOVE! 
See More Here


Cool glassware. Enough said.
See More Here


Knobs. Such a simple switch-a-roo that can add so much character to a dresser, nightstand, media console and much more! Prices range from $6 - $14. I have been eyeing the Left one for Hollyn's dresser!
See More Here


Their bedding is truly something that I will forever just be dreaming about or in my case trying to find an Anthro-inspired look-alike. I love how the Left one is girly, feminine and full of character and texture. While the one on the right has that bohemian vintage feel.
See More Here


 I love fun dishtowels whether it is to just hang over my stove (which I no longer do due to a little one) or to actually use...It is just another fun decorating accessorie. They have great ones for wedding gifts too! And check out the aprons...too cute!
See More Here


Well there is my ode to Anthropologie. I will see you Anthro at the SALE rack!


Saturday, February 9, 2013

CAMP HOLLYN - Hollyn turns ONE!

First off, I CAN NOT believe my baby is already one! Where did this year go? I feel like I just popped her out yesterday. This year has been the best...full of learning experiences and love I never could have imagined and each day gets better and more fun!

When I had to start thinking of a birthday theme I kept trying to think of something that kind of signifies us and Hollyn. That is when I came up with Camp Hollyn. We often go "camping" (I put it in quotes because our camping consists of a 5th wheel trailer with nicer cabinets in it than my own home). But we do camp and we often have bonfires in our backyard and Hollyn LOVES anything that has to do with the outdoors. So, I thought it was a great fit. However, I didn't want it to be too rustic and full of plaid so I wanted to play up on the girly side using bright colors like pink, lime green, teal and yellow...all colors that I feel portray Hollyn and her personality too!

My Hubby made an A-frame tent, we collected pine cones on our walks, we had S'mores bars, S'mores on a stick and made fun signs for around the yard. We also did a fun little craft...I painted a tree on a canvas without leaves and put a quote at the bottom saying "Friendship is a sheltering tree" then everyone who was there had to put their finger print on the branches and sign their name. I thought that it would be something nice to remember her 1st birthday by and I plan on hanging it in her room.

All in all it was a success and lots of fun! Here a some pictures from the festivities!


The Dessert Table full of S'more bars, Mallows on a Stick, cupcakes, cookies and Hollyn's smash cake

Hollyn's smash cake with a fabric banner I made for it


The kids all liked the tent

The Birthday Girl all excited!!! I just LOVE her!!!


Sign pointing to her sandbox which was her birthday present.


I think the sandbox was the biggest hit!

 Canvas craft project for Hollyn


Her cousins loved helping her eat the cake!

Surrounded by her presents


The little Fashion Diva! Scarf by Mallory Made @Meowlory

The finished product! Looks so cute and I can't wait to hang it in her room!

Friday, January 18, 2013

Why Buy?! DIY!!! {Rustic/Industrial Floating Shelves}


About a month or so before Christmas I was browsing my favorite blog, Vintage Revivals (check it out...it's awesome!), and came across an amazing tutorial on industrial floating shelves found here. I thought "I am In LOVE!" I had the perfect wall to do these on and my hubby thought they were pretty awesome too! So, as I sat making my Christmas list out for him at the bottom of the list I put "My shelves made." It was more of a joke, but a girl could hope right?

Fast forward to Christmas morning...I'm sure you know where this is going...I got my shelves!!!! I was one happy girl!

I asked my hubby if he had used the tutorial and being the crafty and talented man that he is he said he just remembered what they looked like and went from there. All in all they are pretty easy to make.

The original tutorial calls for Plexi Glass to be used on top of the shelves, but he went with regular glass because it was actually cheaper which he got cut at a local glass shop.

All you need is:
2 x 4's
Lag Bolts x 4
Screws
6 Wood pieces for corners and middle 1" x 1/2"
Air Nails
Stain
Glass or Plexi Glass cut to fit

So take your 2 x 4's and figure out your width (ours are 28" wide) and cut two. Then figure out how deep you want your shelves (ours are 10" deep) and cut two.

Screw your two short pieces to one of your long pieces from the back.


You are now going to secure the other long piece to the front with the lag bolts.


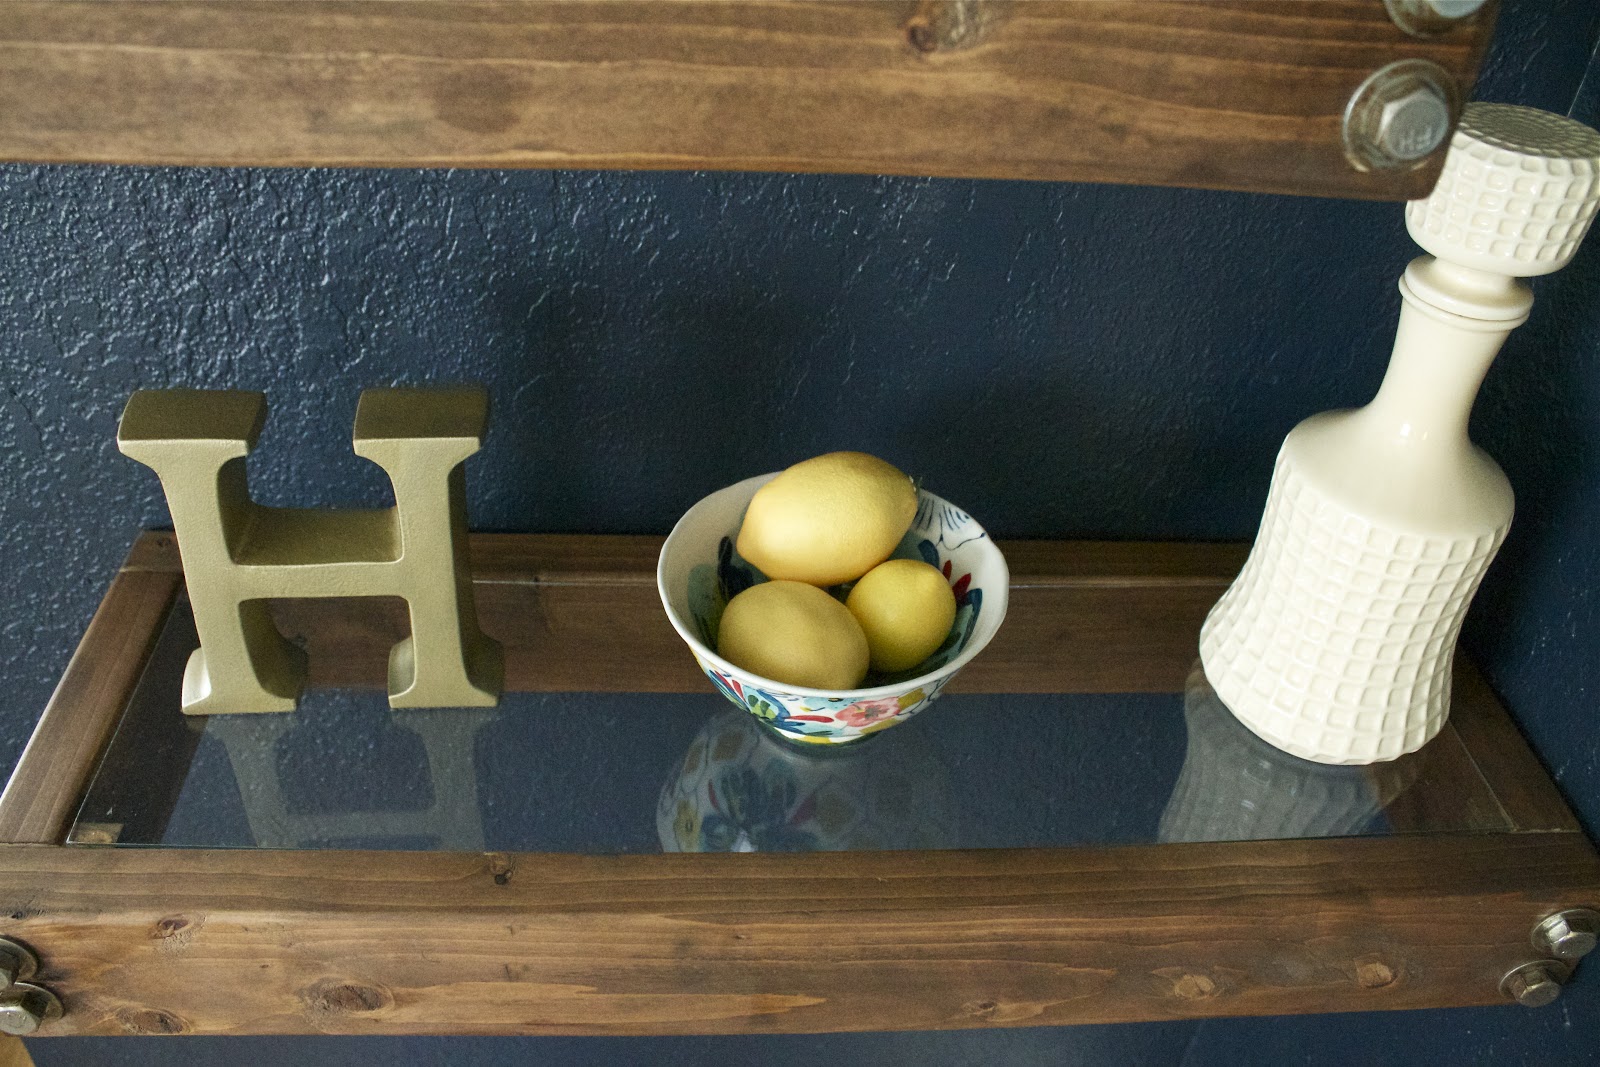
Now it is fully assembled. Just add your small wood pieces in the corners and the middle with some wood glue and air nail it to make it secure. We did the middle because once you put objects on we noticed it sagged a little...and we don't want broken glass!!!


There you have it!!! Now just stain and add your glass.

****Side Note...I took pictures of one that I had obviously already stained, but when my hubby gave them to me they were already put together with no stain. I would definitely suggest staining them once they are fully put together and just go right over the Lag Bolts. It will give it a cool look on the metal.

Now it's time to put them up! This is the really easy part!  Figure out where you want to hang them and find the studs and then just drill them into the wall from underneath the shelf....literally it is as simple as that!


That's it...all done...finished...finito (is that a word? Cuz I use it ahh-lot!). Now just decorate and enjoy!


 And YES...that is a red Clearance sticker on the bottom of that vase. Gotta love Marshall's clearance section...$4.00!!! Woo woo!


Happy DIY-ing!!!


Sunday, January 13, 2013

Update {Ballard Design-Like Chairs}

Alrighty, it's been a while I know. I have been working on the chairs periodically while trying to take care of my little one and getting so easily distracted with other projects. It happens all too often; I start on it, then look on the internet and decide that I NEED to do that project and then begin another project. Fast forward to now...I have about 52 projects pending (ok maybe it's only 3, but who is counting right?).

So, back to the chairs. They were a pain in my tush!!!! And whatever other word you would like to put there in place of tush. I tried to do the no sew route and use tacking strips...well the chairs are curved thus making the fabric an incredible pain to try to lie flat. After many attempts on how to get it to work; asking the hubby for advice and a friend for advice, I gave in and went the sewing route. Just to inform you all...I DON'T SEW!!! I can do a straight line...barely. I hate measuring (don't have the attention span or patience for it) so I wasn't looking forward to it at all. But I have to say I'm not too disappointed with how it turned out and the sewing wasn't all that bad.


The Before


 I traced and I sewed...


The Progress: 


The upholstery job is a little loose on the backing part, but for it being my first real upholstery job I'm pretty happy...patting my back right now! PLUS!!! Do I need to remind you that these were FREE!!!


Don't mind the nail head-ing...it did not turn out as planned and is super messy...after breaking 4 of the nail heads, bending about 5 of them and it looking like this I was over it! I'm going to attempt the nail head strips and see it that works better...if not well then I will have to come up with a Plan B...Or is it C by now? Or D? Who knows! These chairs are giving me a headache!


Well, there ya have it!!! I will let you know how the final product turns out and how they grace our dining room soon!