Friday, January 18, 2013

Why Buy?! DIY!!! {Rustic/Industrial Floating Shelves}


About a month or so before Christmas I was browsing my favorite blog, Vintage Revivals (check it out...it's awesome!), and came across an amazing tutorial on industrial floating shelves found here. I thought "I am In LOVE!" I had the perfect wall to do these on and my hubby thought they were pretty awesome too! So, as I sat making my Christmas list out for him at the bottom of the list I put "My shelves made." It was more of a joke, but a girl could hope right?

Fast forward to Christmas morning...I'm sure you know where this is going...I got my shelves!!!! I was one happy girl!

I asked my hubby if he had used the tutorial and being the crafty and talented man that he is he said he just remembered what they looked like and went from there. All in all they are pretty easy to make.

The original tutorial calls for Plexi Glass to be used on top of the shelves, but he went with regular glass because it was actually cheaper which he got cut at a local glass shop.

All you need is:
2 x 4's
Lag Bolts x 4
Screws
6 Wood pieces for corners and middle 1" x 1/2"
Air Nails
Stain
Glass or Plexi Glass cut to fit

So take your 2 x 4's and figure out your width (ours are 28" wide) and cut two. Then figure out how deep you want your shelves (ours are 10" deep) and cut two.

Screw your two short pieces to one of your long pieces from the back.


You are now going to secure the other long piece to the front with the lag bolts.


Now it is fully assembled. Just add your small wood pieces in the corners and the middle with some wood glue and air nail it to make it secure. We did the middle because once you put objects on we noticed it sagged a little...and we don't want broken glass!!!


There you have it!!! Now just stain and add your glass.

****Side Note...I took pictures of one that I had obviously already stained, but when my hubby gave them to me they were already put together with no stain. I would definitely suggest staining them once they are fully put together and just go right over the Lag Bolts. It will give it a cool look on the metal.

Now it's time to put them up! This is the really easy part!  Figure out where you want to hang them and find the studs and then just drill them into the wall from underneath the shelf....literally it is as simple as that!


That's it...all done...finished...finito (is that a word? Cuz I use it ahh-lot!). Now just decorate and enjoy!


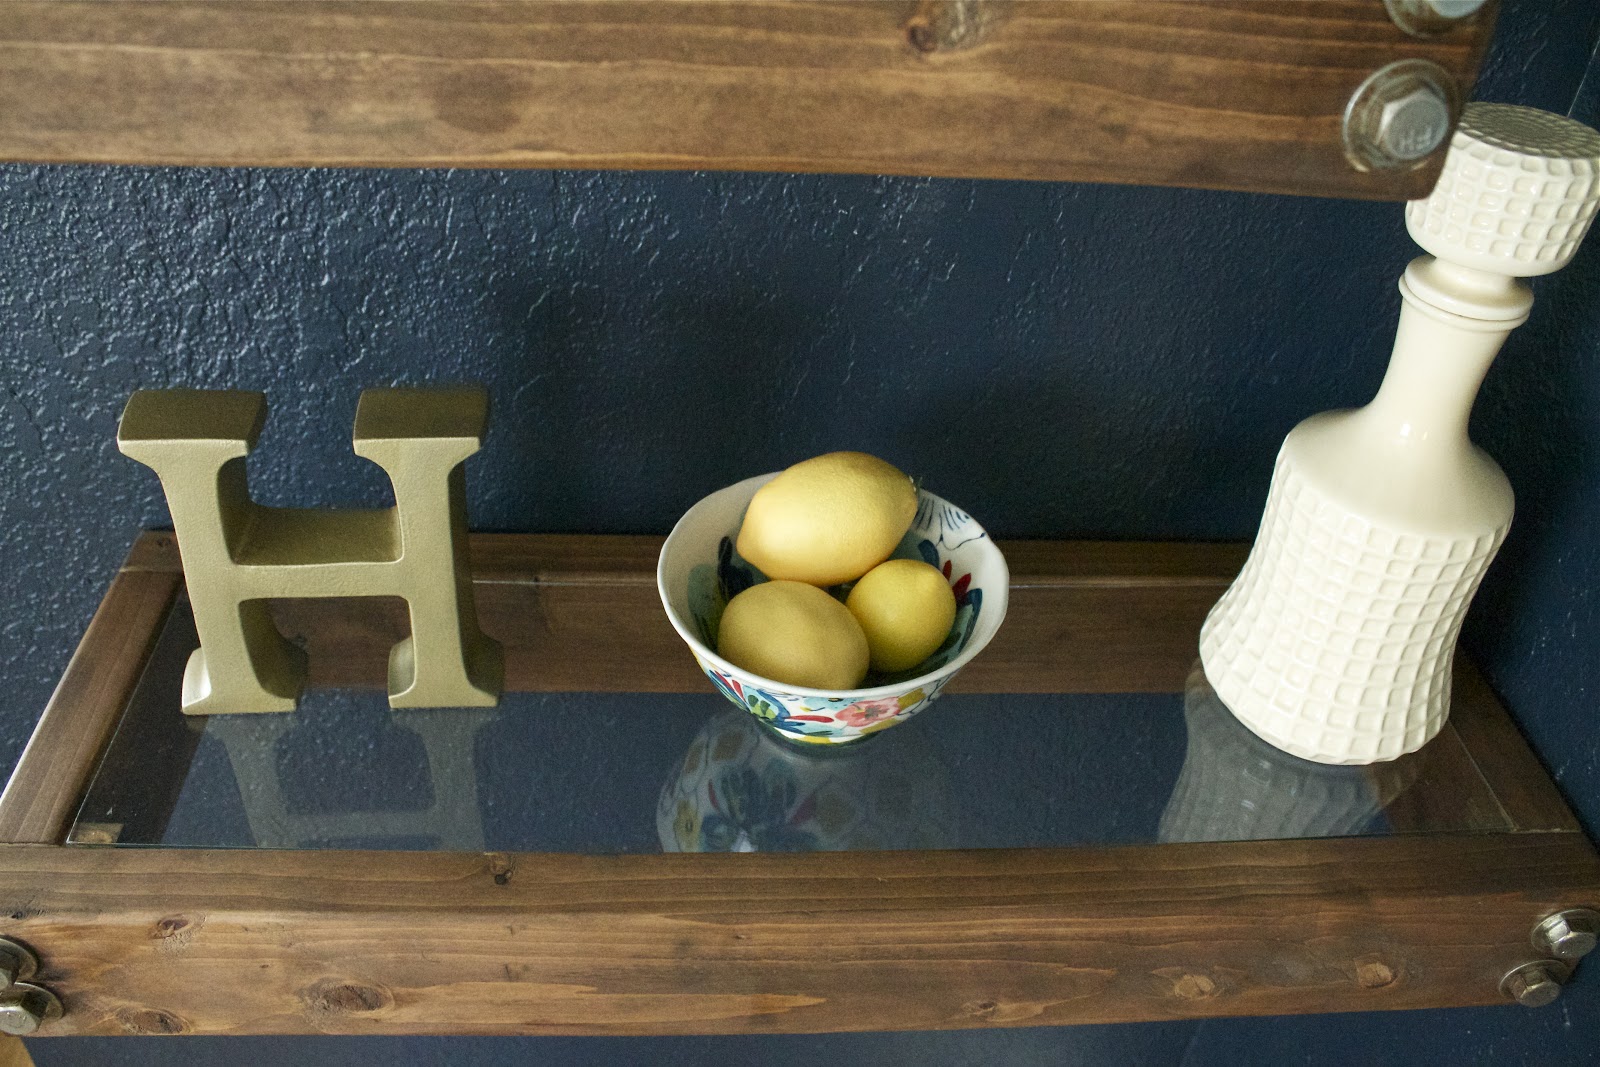
 And YES...that is a red Clearance sticker on the bottom of that vase. Gotta love Marshall's clearance section...$4.00!!! Woo woo!


Happy DIY-ing!!!


Sunday, January 13, 2013

Update {Ballard Design-Like Chairs}

Alrighty, it's been a while I know. I have been working on the chairs periodically while trying to take care of my little one and getting so easily distracted with other projects. It happens all too often; I start on it, then look on the internet and decide that I NEED to do that project and then begin another project. Fast forward to now...I have about 52 projects pending (ok maybe it's only 3, but who is counting right?).

So, back to the chairs. They were a pain in my tush!!!! And whatever other word you would like to put there in place of tush. I tried to do the no sew route and use tacking strips...well the chairs are curved thus making the fabric an incredible pain to try to lie flat. After many attempts on how to get it to work; asking the hubby for advice and a friend for advice, I gave in and went the sewing route. Just to inform you all...I DON'T SEW!!! I can do a straight line...barely. I hate measuring (don't have the attention span or patience for it) so I wasn't looking forward to it at all. But I have to say I'm not too disappointed with how it turned out and the sewing wasn't all that bad.


The Before


 I traced and I sewed...


The Progress: 


The upholstery job is a little loose on the backing part, but for it being my first real upholstery job I'm pretty happy...patting my back right now! PLUS!!! Do I need to remind you that these were FREE!!!


Don't mind the nail head-ing...it did not turn out as planned and is super messy...after breaking 4 of the nail heads, bending about 5 of them and it looking like this I was over it! I'm going to attempt the nail head strips and see it that works better...if not well then I will have to come up with a Plan B...Or is it C by now? Or D? Who knows! These chairs are giving me a headache!


Well, there ya have it!!! I will let you know how the final product turns out and how they grace our dining room soon!